
DIY Easy Feather Lamp
Here’s how to turn your old unsightly lampshade into a whimsical, romantic, and naturally charming light!
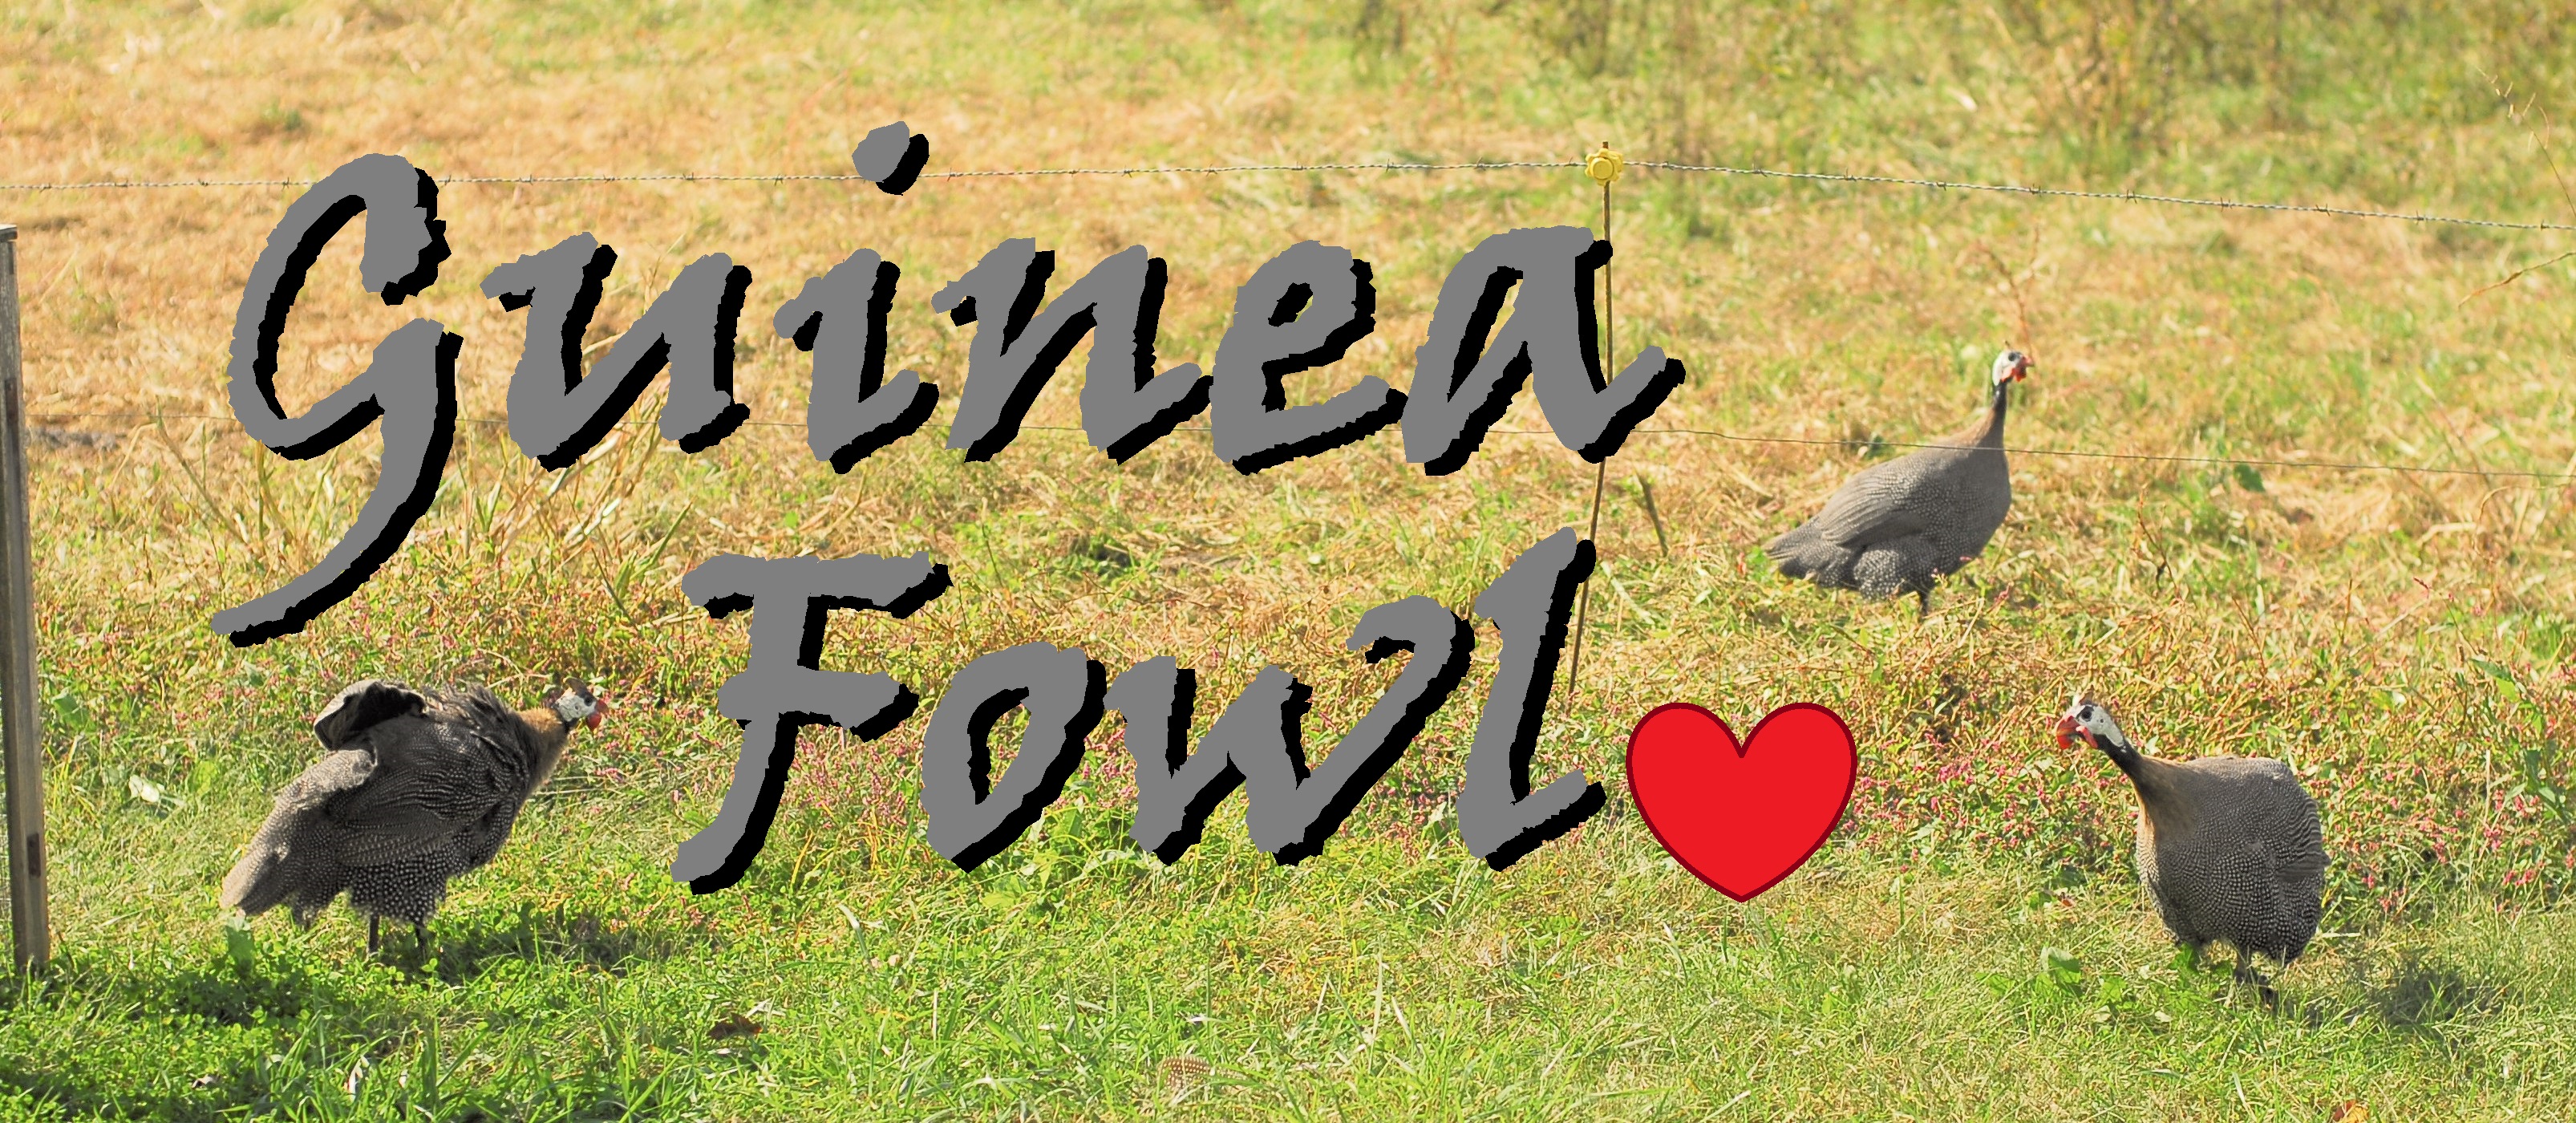
I adore our guinea fowl, not only are they a bit of comedic relief, but they are good security alarms, tick & insect hunters, and the females lay eggs. I also love their feathers! I had been collecting them in hopes of finding something to do with them on a rainy day, and did I ever!

I picked up this vintage lamp at an antique store a while back and thought it was simply charming, except the stained shade, which I had intended to replace long ago… Then, Voilá! I had an idea!
What I thought would take me a couple of hours ended up taking me around 4-5 hours of straight work by myself (set-up and clean-up included). So, this is definitely something for a rainy day with a friend and no distracting television, especially if you want it to look decent.
This is also a simple and easy project for you and (older) children to do! I’d say from 12+ years could do this with no problem. Any younger and they might be getting bored too quickly and be too messy with it for a professional look.
Get ready! You will need:
MATERIALS
1. A lamp with a cleaned lampshade, preferably a light or white colored shade that isn’t in too shabby of shape. You don’t want to put these beautiful feathers on a crumbling structure. Have fun picking out your lamp from a yard sale, consignment shop, antique store, or your storage closet!
2. Tacky glue. Any will do, but make sure you get the sturdy crafting kind.
3. An iron with ironing board (I’ll explain later).
4. FEATHERS!!! We want feathers with a backbone (wing feathers) in this particular project. If you want to use downy feathers, that is fine too, but you might want to use a brush to “paint” the glue on the lampshade instead of putting it down in globs, which will block out more light than necessary and might alter your design when the lamp is lit.
5. Some spare paper like newspaper or anything that you don’t mind getting glue all over to cover your workspace.
6. Strong scissors for cutting the feathers.
All set? Let’s get creative in making our own décor!
INSTRUCTIONS

1. Set out the paper or covering material on your workspace, preferably a cleared table with plenty of room for you to spread out your iron (plus access to a socket to plug it in), ironing board, glue, feathers, scissors, and lampshade. If you don’t have access to a table, don’t feel bad, you can also do all of this on the floor, which is where I ended up!
2. Decide what kind of design you want to put on your lampshade. I could visualize it in my mind because mine was a simple design to look like a bird’s wing, but if yours is more complicated, then might I suggest you draw it out to make sure that is what you want before committing?


3. Cut your feathers to your liking. I cut my feathers’ “stems” off so that they wouldn’t get in the way and to prevent a wavy texture from fuddling up the gluing process.


4. Iron all of your feathers. If you have a buddy, you can get them to iron the feathers while you glue the finished pieces on. It doesn’t take very long, but every feather is different. Do some timed tests to figure out the most efficient way to iron your feathers, whether you need to only iron them for 20 seconds on each side or one minute on one side, or something else entirely. I heated my iron up all the way on high heat and ironed them for at least one minute on both sides (my feathers were sturdy). You can always run a test by ironing one of your least favorite feathers and making sure it doesn’t burn while it is flattening. Yes, that’s why we need an iron! If the feathers aren’t perfectly level with the shade, the feather will have more chances to come unglued and then your lamp will look a little haywire… Unless you’re going for that style of course!


5. Put some glue on your feather or on the lampshade, one feather at a time or one space at a time, whichever way feels best for you. I put the glue on my feathers first and then pressed them onto the lampshade. Make sure you do the ones you want to cover up FIRST and then glue on the ones you want to cover the ones under it. Sound confusing? Make sure you glue them in the order you want! For instance, I wanted the bigger parts of the flight feathers to be covered up by the softer feathers to make it look more wing-like, so I started from the bottom and glued the big flight feathers on first, then worked my way around in one direction and then up in sections.

6. You can finish with some hairspray if you prefer or just leave it as-is (that’s what I did)! Put it back on your lamp base and place it somewhere beautiful! I tend to like feather lamps in a bedroom or living room. Feather lamps can give these rooms a sense of whimsical, romantic, and natural charm!
Check out another project made with Guinea Fowl Feathers:

This “Yin & Yang” Chinese Dreamcatcher is what my husband and I made to match our lamp!
COMMENT BELOW: Let us know how you did and don’t forget to share pictures of your masterpiece!
Blessings, Grace, Love & Thanks!

– The Campbell’s