


HOW TO USE CONDITIONER BARS
1. SHAMPOO MASTERY, FIRST!
First, make sure your washing technique is correct. Confirm this before blaming any issues on the conditioners.
Usually, any issues with hair texture for beginners comes from not washing with the shampoo soap bar correctly. These issues have nothing to do with how they are using the conditioner. Learn how to wash correctly here with our shampoo soap bars. Then learn how to use the conditioner bars for your specific needs below.
2. APPLY FOR DIFFERENT NEEDS
Dry Scalp
Rub the conditioner bar directly on your freshly washed, rinsed, and dripping wet hair. Do this in the direction of hair growth from scalp to tip.
Normal/Dry Hair
Rub the conditioner bar directly on your freshly washed, rinsed, and dripping wet hair. Apply it to areas where you need a conditioning, softening, de-tangling, and moisturizing effect. Avoid applying to the scalp, focusing on the ends and especially dry areas. Do this in the direction of hair growth.
Long Normal/Dry Hair
Try the “Sandwich Swipe” method! Take the bar in your hand. Hold the bar firmly with one hand, swiping it down the length of your hair in the direction of growth. Support your hair on the opposite side of the bar with the palm of your other hand. Imagine it’s a sandwich: Your hands are the bread. The conditioner is the meat. The hair is the cheese as you glide it down. Focus on dry spots, especially the ends of your hair!
Normal/Oily Hair
Rub the conditioner bar in your hands. Then use what is on your hands to apply to your freshly washed, rinsed, and dripping wet hair. Swipe or comb your conditioned hands and fingers through your hair in the direction of hair growth. Apply it to areas where you need a conditioning, softening, de-tangling, and moisturizing effect.
Oily Hair
Apply the conditioner bar like the above BEFORE washing your hair, not after. Make sure your hair is soaking wet first!
3. SPREAD
Spread the conditioner left in your hair or scalp with fingers, a comb, or our scalp massager. This ensures the conditioner is spread around evenly. You can add a little more water to comb it and spread it around smoothly.
Remember where you should be spreading it according to your hair type above. If you didn’t apply it there, then don’t spread it there!
4. SOAK (optional)
This is not like liquid conditioner to just slap it on and go. Bars must be worked in with the water.
If you have an oily hair type, then you can skip this step!
Dry Scalp
Make sure that the conditioner applied is well-massaged into the scalp. Leave on for as long as needed to gain the desired effect. Let the conditioner SIT in your hair while you wash your body/shave/etc. 5 minutes or more is ideal for dry hair/scalp types. The longer the sit, the deeper conditioning effect!
Normal/Dry Hair
Make sure that the conditioner applied is spread well throughout the hair. Leave on for as long as needed to gain the desired effect. Let the conditioner SIT in your hair while you wash your body/shave/etc. 5 minutes or more is ideal for dry hair types. The longer the sit, the deeper conditioning effect!
Normal/Oily Hair
Make sure that the conditioner applied is spread well throughout the hair. Leave on for as long as needed to gain the desired effect, or rinse out without letting it sit. The longer the sit, the deeper conditioning effect!
5. RINSE OUT or LEAVE IN
RINSE OUT thoroughly using clean and cool water. Cool or cold water helps to close the hair shafts, improve texture and shine, as well as decrease dandruff.
LEAVE IN
The leave-in method works wonders for damaged, dry, frizzy, curly, or wavy hair types. But this is NOT recommended for oily or straight/fine hair types, unless you are going for a wet look! Many customers can remove all sorts of other products they normally would use doing this (like gels, hairspray, curling, etc.)
HOW TO LEAVE IN: do not rinse out all the conditioner after washing, only rinse out as much as desired. For natural curls: leave in some conditioner, brush hair while still damp, *scrunch* then let air-dry!
Need to apply more after the shower/bath application for styling? Simply wet the bar again and rub it in your hands. Then use what is on the hands to comb through the hair, especially focusing on the ends.
Consider washing your hair more often when using leave-in styling products.
6. TAKE NOTES & ADJUST
If your hair feels too conditioned after: change your technique the next time after washing. You have either left it in for too long, applied too much, or applied where your hair didn’t need it. Apply ONLY where your hair or scalp is dry! If applying lighter and less doesn’t work, try NOT using a conditioner bar after washing, or try a liquid form!
If your hair doesn’t feel conditioned enough: Jump back in the water and change your technique. You can either leave it in for longer and/or apply more in the places needed.
Please contact us if you need to troubleshoot any issues! We’re happy to help you get the results you are looking for.
STORAGE: Do not leave in water. Do not allow the conditioner bar to rest on a wet surface. Do not let water sit on the bar. The bars will start to dissolve, or become too soft to use correctly. Preferably, they should be stored in an area with good air flow and minimal surface contact. Store in a dry, safe place out of direct sunlight or heat. We recommend our soap dishes for storing your conditioner bar at home, or our travel case for on-the-go!
LOTION or SHAVING BAR
Try rubbing it on your wet skin in the shower or bath for a lotion. This is also great for a silky-smooth shave!
Beginner FAQ’s
How to start?
First make sure your washing technique is correct. Confirm this before blaming any issues on the conditioners.
Usually, any issues with hair texture for beginners comes from not washing with the shampoo correctly. These issues have nothing to do with how they are using the conditioner. Learn how to wash correctly here. Learn how to use the conditioner bars for your specific needs below.
After mastering the washing technique using the basic unscented formulas with good results, you can branch out to different scents!
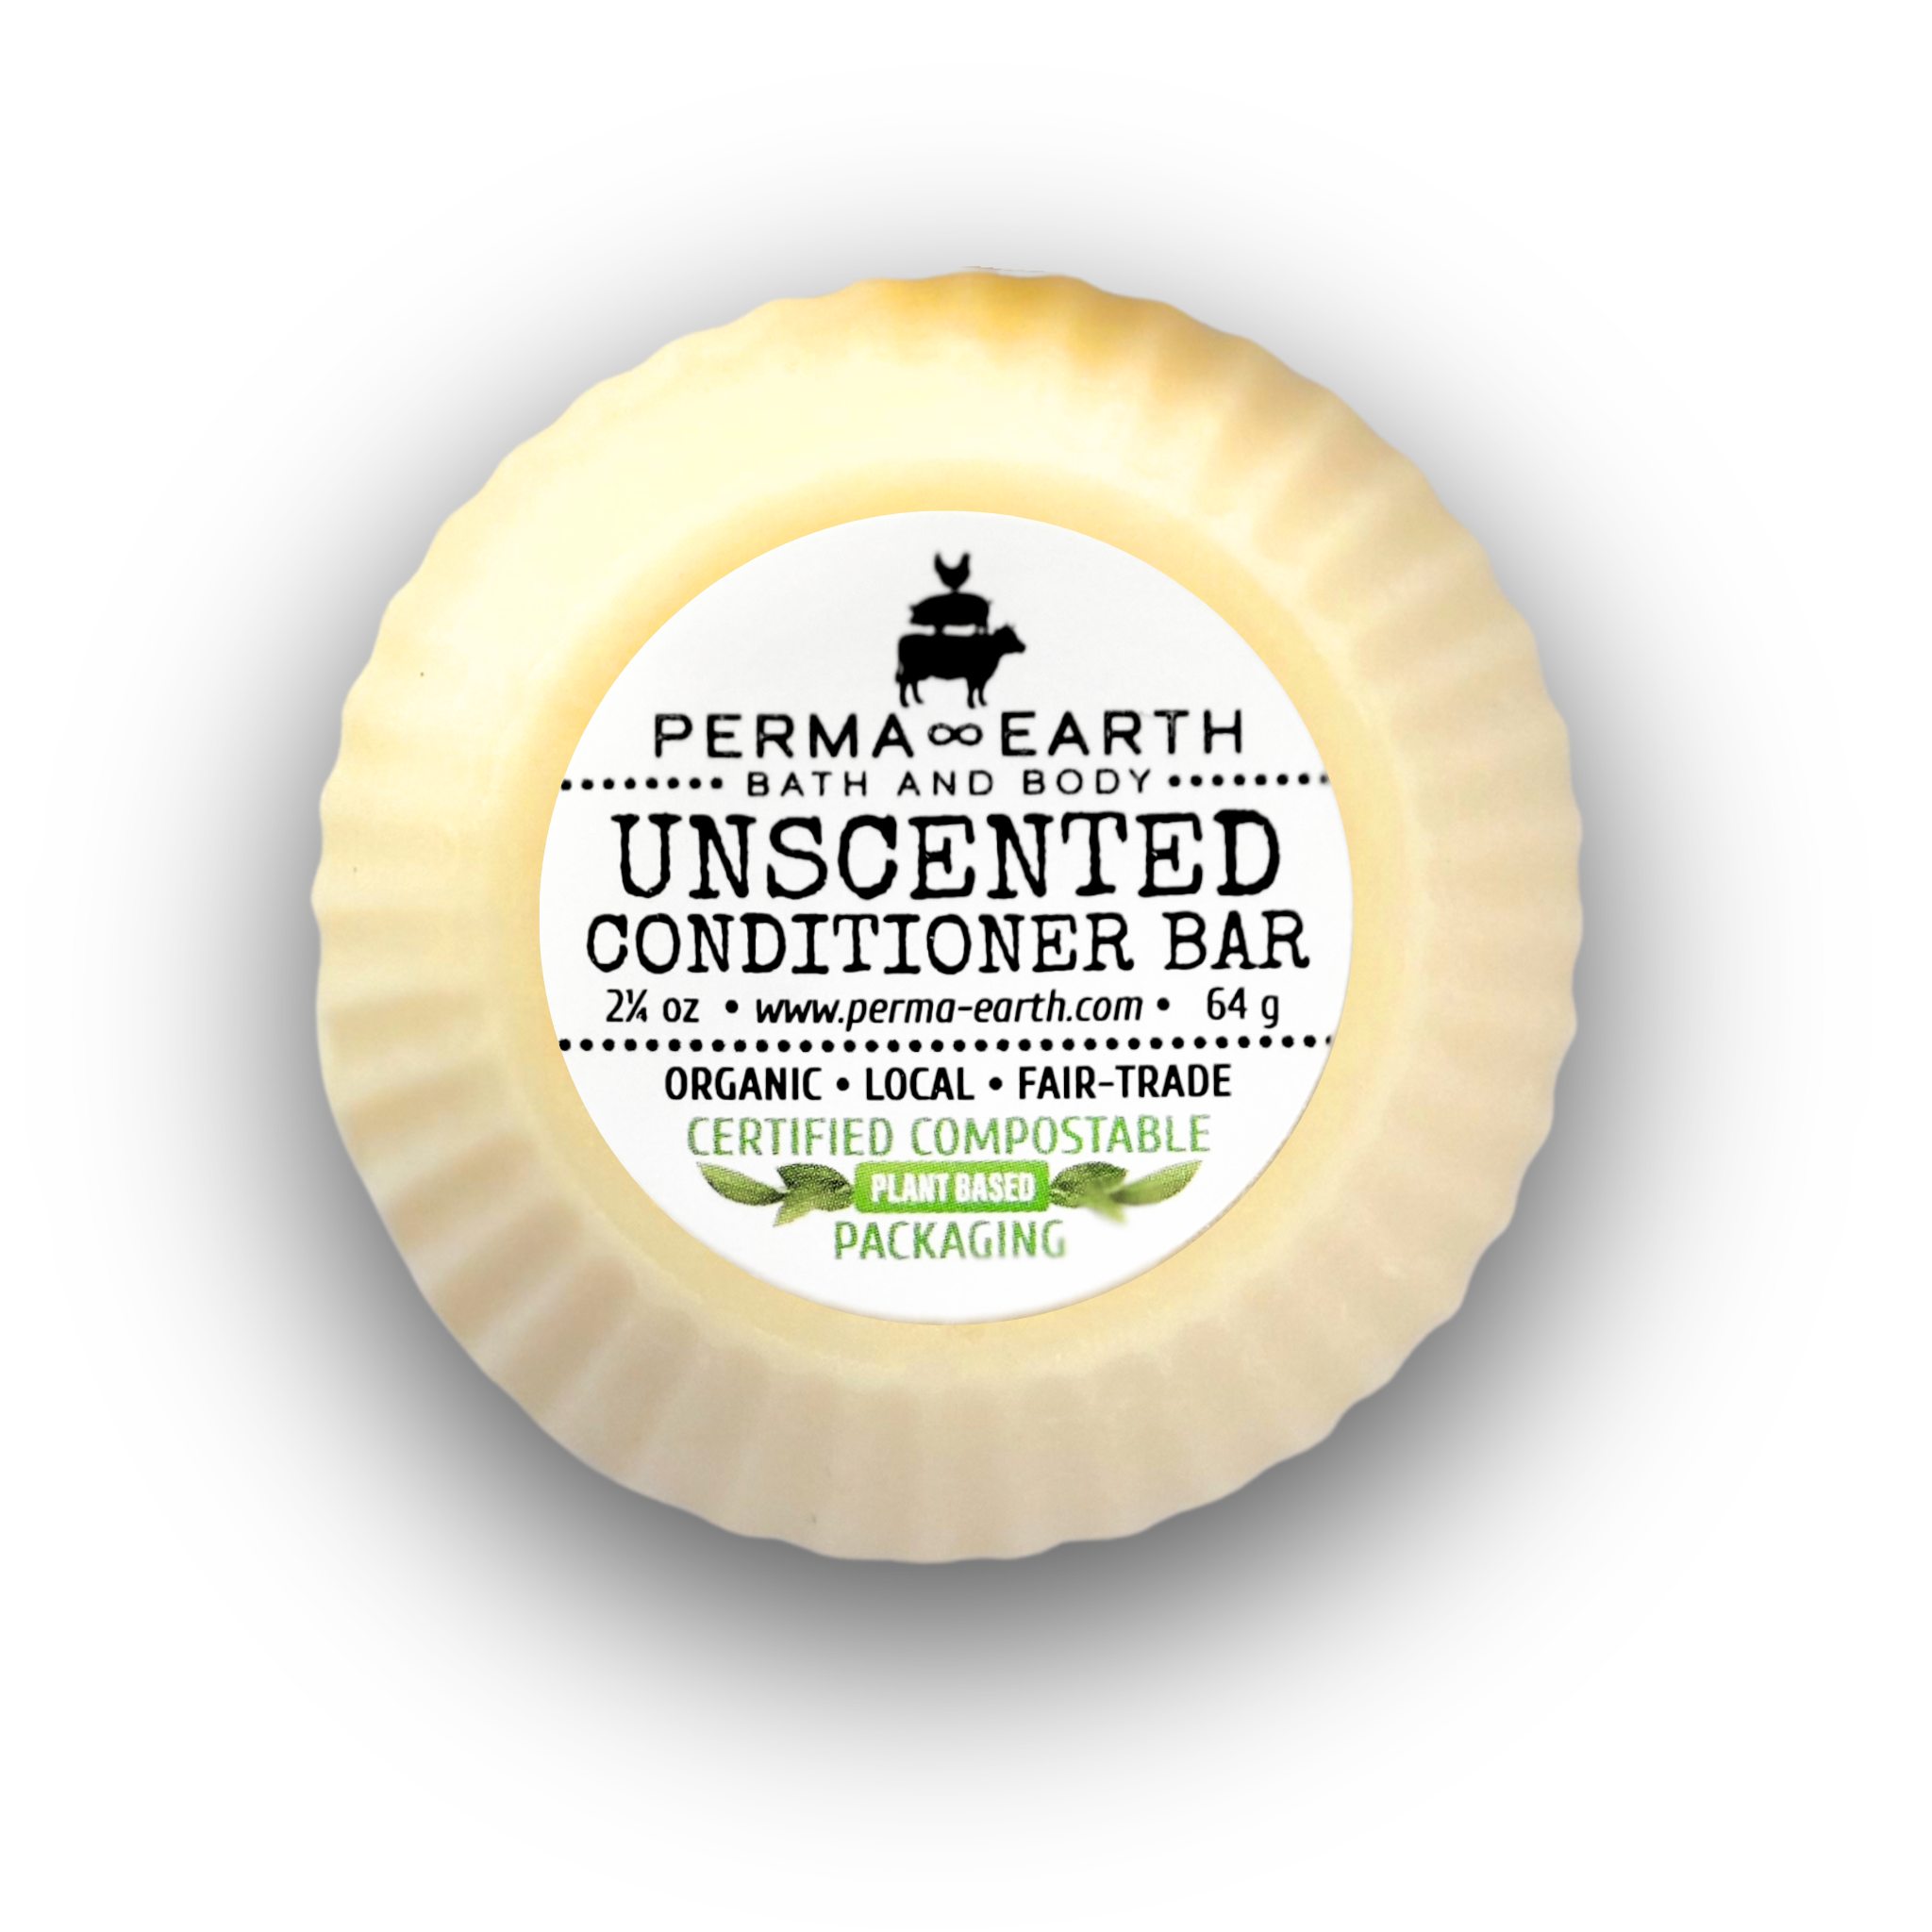
Some hair types are picky about scents and do best without any scents at all. We suggest beginners first try our unscented bar for a clean slate.
Bar vs. liquid?
New users can experiment with both to decide which they prefer, and they only need to get one bar! To do this, cut it in half. Turn one half into liquid (adjusting the recipe to half amounts), then use the other half as a solid bar.
Unscented vs. scented?
Some hair types are picky about scents and do best without any scents at all. We suggest beginners first try our unscented bar for a clean slate.
After mastering the washing technique and getting good results, you can branch out to different scents!
For all hair types?
Any hair type can use our conditioner, if used correctly and for their hair needs. Use as the solid bar, or make the bar into a liquid form. Directions to make liquid from the bar are found below.
Do I NEED a conditioner?
Maybe! Try washing without using a conditioner bar afterwards to see what your hair still needs.
Do you still want softer, shinier, and smoother hair after using our shampoo soap?
Trial and error is necessary to decide the correct amount and application method depending on many different factors listed below:
- MOST hair types will still feel the need to use a conditioner after washing with our shampoos to some degree. This is especially true for long, dry, damaged, frizzy, or curly hair types.
- SOME individuals with oily or short hair don’t need conditioner at all after switching to our nourishing shampoo soap bars.
- Oily or fine hair types: use less conditioner by using your hands to apply it, then rinse it out quickly. Or, try applying the conditioner BEFORE washing. Rinse it out, then wash your hair with our shampoo. Avoid applying near the scalp.
- Dry scalps can use conditioner on their scalp to help since conditioners help gently moisturize.
- For a styling effect, some hair types love to leave-in some conditioner by not rinsing it all out after application. This applies to curly, frizzy, dry, or damaged hair types.
What else affects how I use it?
- HAIR TYPE like curly or straight, thick or fine, dry or oily, etc.
- WHICH shampoo you use. For instance, a honey shampoo is more moisturizing and reduces the need to condition.
- SEASONS / ENVIRONMENTS your hair is exposed to.
- WATER QUALITY like hard or soft water, well water, chemicals or other substances in the water, etc.
- ANY OTHER PRODUCTS that are being used on your hair.
- HISTORY of product use, treatments, and other exposures to the hair beforehand.
How long does one bar last?
One 2.25 oz Conditioner Bar lasts most users 2-6 MONTHS, if stored correctly between uses. If making that same bar into a liquid, it comes out to be around 32 oz of liquid conditioner!
One 3.5 oz Shampoo Soap Bar lasts most users 2-4 WEEKS. An average rule is a 3:1 ratio of shampoo soaps per conditioner bar. This means 3 shampoo soaps for every 1 conditioner bar.
We recommend using our conditioner bar before its best by date. You can find this date on the price tag of the container. Alternatively, use it within 1 year from first use. The best by dates are also posted on all of our product listings. You can view these dates before purchasing any product!
How to store it?
Do not leave in standing water. Do not allow bar to rest on a wet surface. Do not let water rest on the surface of the bar. Bars that stay constantly wet will start to dissolve, or become too soft to use correctly. Preferably, they should be stored in an area with good air flow and minimal surface contact. Store in a dry, safe place out of direct sunlight or heat. We recommend our soap dishes for storing your conditioner bar at home, or our travel case for on-the-go!
How is it more eco-friendly?
It takes a little more conscious effort using conditioner bars, but your hair and environment will thank you!
Our conditioner bars dramatically reduce transportation wastes. Most bulky, heavy conditioner bottles are 90% water.
1 Conditioner Bar = 32 oz of Conditioner Liquid
Conditioner Bars also remove single-use plastic containers and dispensers. Our conditioner bars are wrapped in 100% biodegradable shrink-wrap and a plant-based biodegradable bag with paper labels!
Need a more eco-friendly travel solution for opened bars? Wrap them in beeswax paper!
Although not necessary, you can make your own liquid from our bars, directions below.
What do I do with leftover bits?
With leftover bits and pieces, you have a few options for using up the rest of the product!
LIQUID: follow the recipe below to make the liquid from a bar, adjusting for the size of your piece left. This is our first recommendation. You can also add boiling hot water to a container if you don’t really care about being exact. Shake it well to create a watery conditioner.
USE AS-IS: Leave the pieces next to the sink or shower in a container. Rub them in wet hands and apply to hair until nothing is left of the bar pieces.
REMOLD: This method requires some experimenting and patience. Completing it correctly takes time. If you choose to remold, then here are the basic instructions! Collect and heat extra broken conditioner pieces together slowly and carefully. Use short bursts on low level in the microwave, or use the “double boil” melting method. This will turn the pieces into a liquid, which will harden again when cooled. You will get the best results when you pour the conditioner liquid as it is turning from clear to opaque. If you pour a conditioner while it is too hot and clear, it will create an uneven texture. This breaks apart easier. It is beneficial to have a silicone container mold. You can use a single silicone cupcake mold. Pour it into the container, and then pop it back out when it cools and hardens.
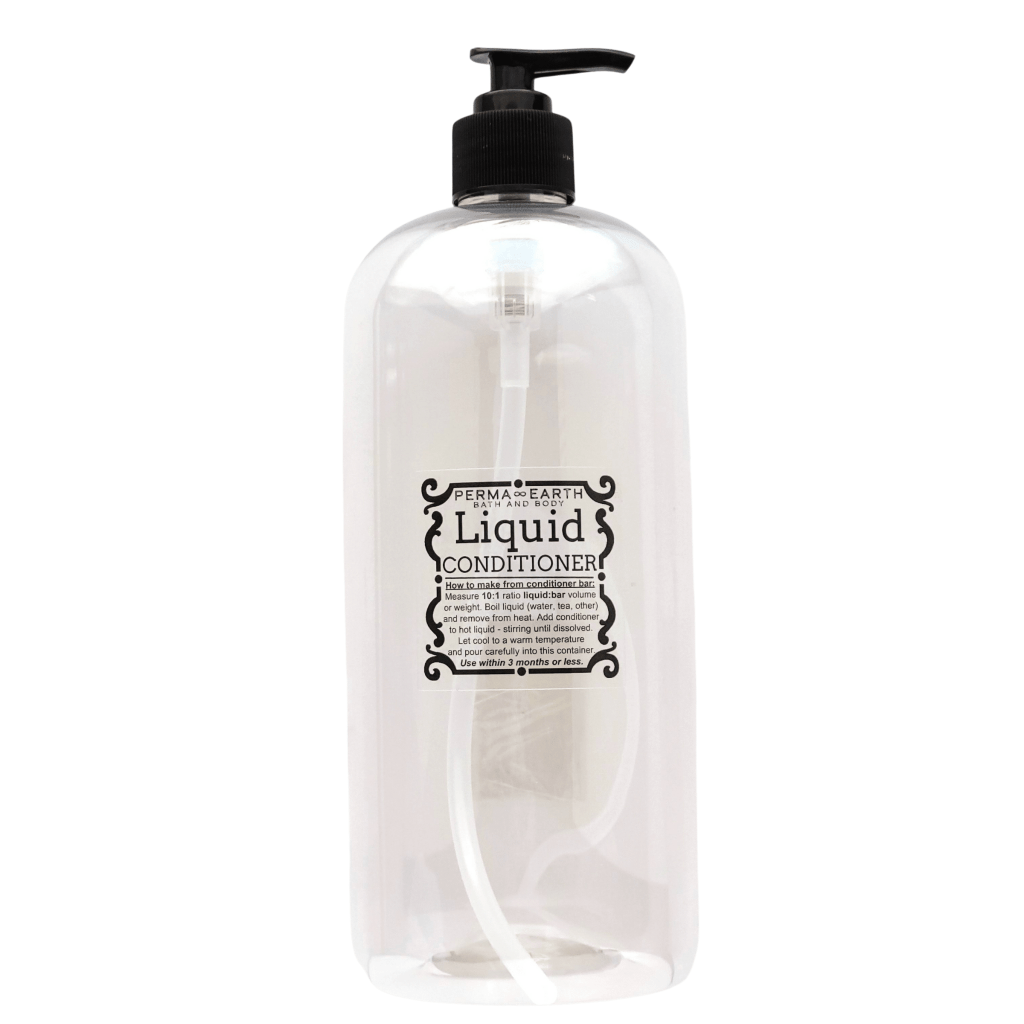
LIQUID RECIPE
Make Your Own Liquid Conditioner!
You can’t do this with shampoo soap bars! Shampoo soap bars are entirely different from conditioner bars. To learn more, visit our article Why No Liquid Soaps?
How to use liquid conditioner
Use as you would regular conditioner, only as needed and where needed.
DEEP: Let it sit in your hair for a few minutes before rinsing out for a deeper conditioning effect.
REGULAR: Rinse out after applying and spreading for a light regular effect.
LIGHT: Or apply it BEFORE washing for an even lighter conditioning effect.
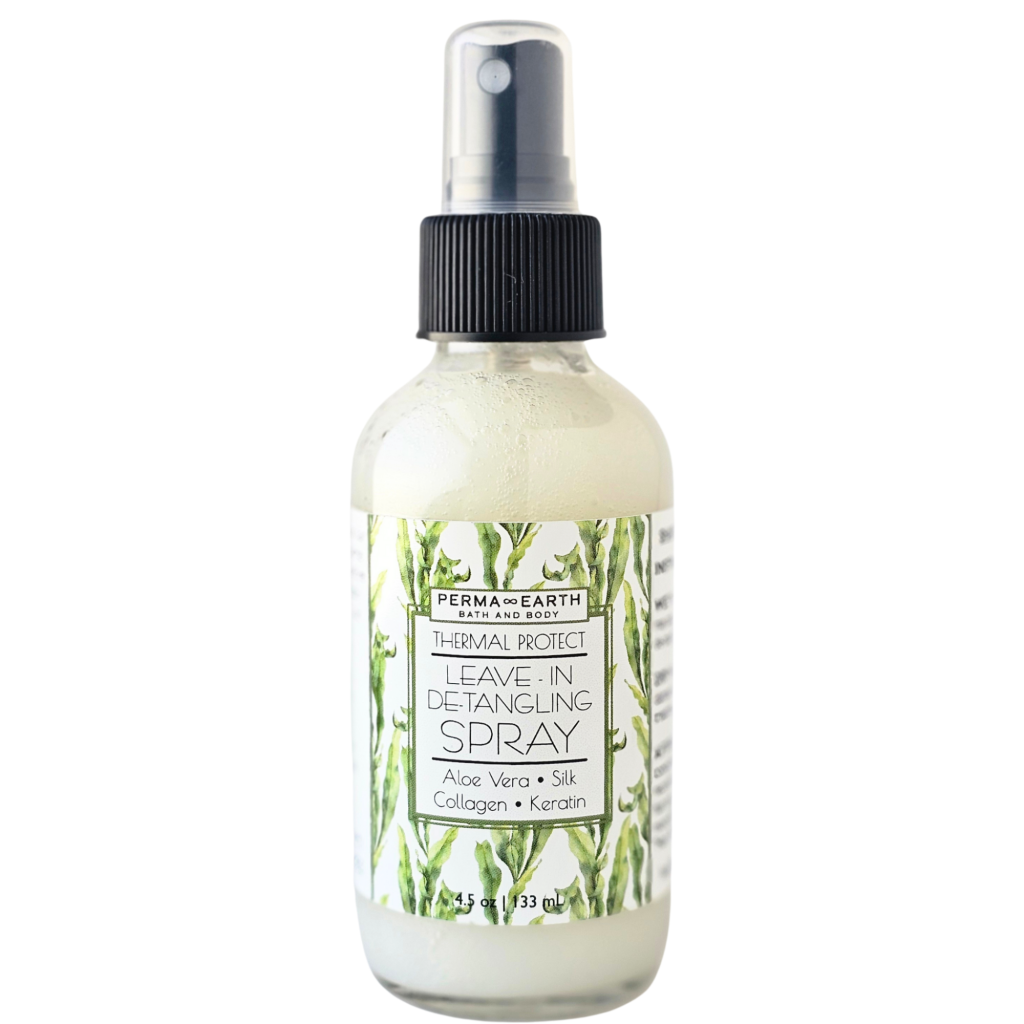
LEAVE-IN: You can even use it as a leave-in product for styling dry/curly/frizzy hair types.
SCALP: You can use it as a scalp moisturizer for dryness and dandruff, then rinse out well.
SKIN: You can also use the liquid conditioner as a skin lotion!
We recommend only using our pump with our liquid conditioners to remove any unknown variables. We are not liable with issues due to another container!
This recipe is on the back of every conditioner bar’s label.
STEP 1. Choose Liquid (optional)
Using clean, distilled water is our first recommendation. But, you can choose to use other liquids instead. Aloe Vera juice, teas, or milks are good alternatives only if using our booster to keep it preserved!
STEP 2. Measure Liquid
Use this ratio:
13:1 = LIQUID:BAR
This comes out to be 29 oz liquid for one 2.25 oz bar. Please note that is this using clean, distilled water.
If you are using a different sized bar, just multiply the weight by 13 to get the liquid ratio.
STEP 3. Boil Liquid
Heat liquid to a boil with a covered lid and unwrap bar to set aside.
Make sure to add back any water amount that evaporates!
STEP 4. Add Bar
Add the naked bar to the boiling liquid.
Stir until bar is completely dissolved.
Remove the mixture from heat, then cover with lid.
Stir occasionally until not steaming.
Again, make sure to add back any liquid that was lost!
STEP 5. Add More (optional)
While still warm and a thin liquid, add any extra ingredients you prefer.
Consider using our liquid conditioner booster to extend shelf life and add other benefits.
This is where you can also add your choice of scent in the ratio desired.
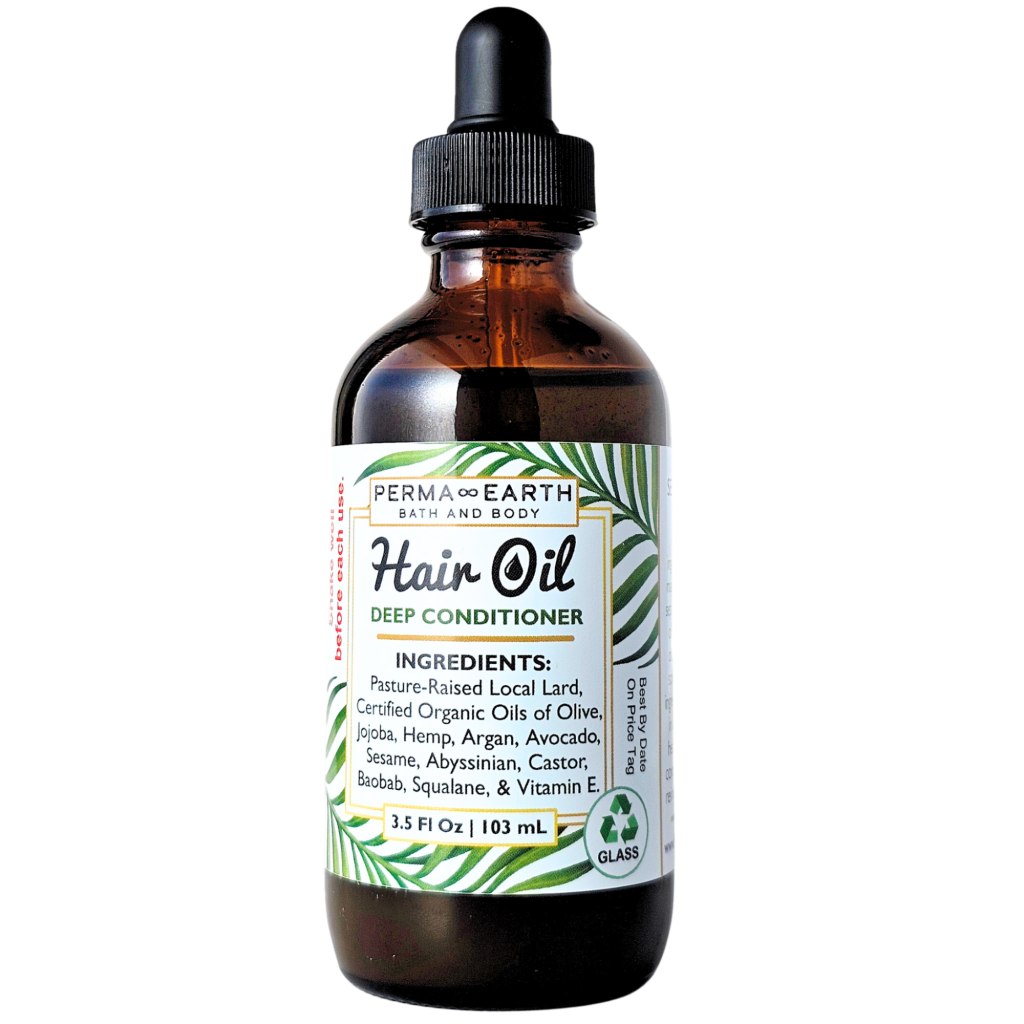
Add some extra oils if you need a deeper conditioner. Try using our hair oil!
STEP 6. Pour Into Pump
Pour into our conditioner pump and let it cool to room-temperature before using.
It will thicken as it cools, so shake it occasionally until it is fully cooled.
STORAGE: Store in the bathroom. Use within 3 months of making. If made with our booster then it will have closer to an 18-month shelf life.